Jeg deltog i et online crop med Core'dinations for et par uger siden. I løbet af de dage blev jeg helt forelsket i hvordan jeg kunne skabe mine egne udtryk og design med deres karton. Glemte helt at bruge mønstret papir! Jeg har leget lidt videre med Core-karton. For mig er det en anderledes måde at arbejde med papir på og jeg føler mig som en ydmyg lille kunstner, når jeg skaber min egen pynt. Og sikke en skøn følelse!
Jeg har aldrig rigtig tænkt på at bruge kort til andet end kort, men ideen om at lave andre projekter med kort var en udfordring jeg ikke kunne lade være med at tage op. Mit keyword var derudover diecuts. Her er hvad jeg bla. fandt på med masser af detalje fotos af min proces. Der kommer nok flere kort snart!
I took part in an online crop with Core'dinations cardstock a few weeks back and during those days I completely fell in love with how I could alter the cardstock and create my own little pieces of art. I have continued to play with the cardstock, and feel like a humble artist creating my own embellishments. And what a nice feeling!
I never really thought of card bases to be used for anything but cards, but idea of creating something different with them was a challenge I couldn't pass. Besides that, my keyword was diecuts. Here are some projects I created including lots of photos of my process. More cards on the way soon!
My first project is a mini album created with three card bases and patterned paper.
So for this mini album I took 3 grey cards (4.25x5.5) and matched the colors to some patterned paper and got to work!
I cut the darkest card into 1.5" strips and scroed in the middle. One piece I glued onto my photo to sort of extend the width till 4.25", so all pages were the same size. The other piece was to be the spine of the album.
To make sure the pages could open in the mini album I scored on each side of the middle to match the spine. I also scored the photo and my single pages.
When I was done I had these pages to assemble. Two cards with two single pages in between. I put alle the pages together and used a crop-a-dile to make little holes, so I could bind the album with baker's twine.
For the title I used a faux embossing technique. I diecut my letters in the same grey as my front page. I glued the letters on my page and after the glue had dried I carefully sanded the letters to reveal the corecolor.
Here is how the front looked before I sanded the letters.
And here is how it looked afterwards.
I will not explain all my embellishments, but I want to show a fun little detail. I had some American Crafts paper with stripes and dots. I decided to repeat that same pattern on one side of my Core' card by scoring stripes and making dots with this tool (don't know it's name). I turned the paper around and sanded it gently to reveal the pattern. It turned out super cool!
My second project is a card turned giftcard-envelope! I know it's a little early for Christmas, but the idea of a holly with button berries kept coming to my mind. So sorry!
My card base was 7x5 inches. I began by scoring it lenghtwise to get a square card at 5x5 and create the flap of the envelope. I cut below the score-line on the 'front' side, so the flap could close.
I cut the corners of the flap by letting the tip touch the 1" mark on my cutting machine and repeated on the other side.
Finally I took a large circle punch and punched an opening on the front of the envelope. And then I stiched the envelope together and sanded the edges to reveal the core.
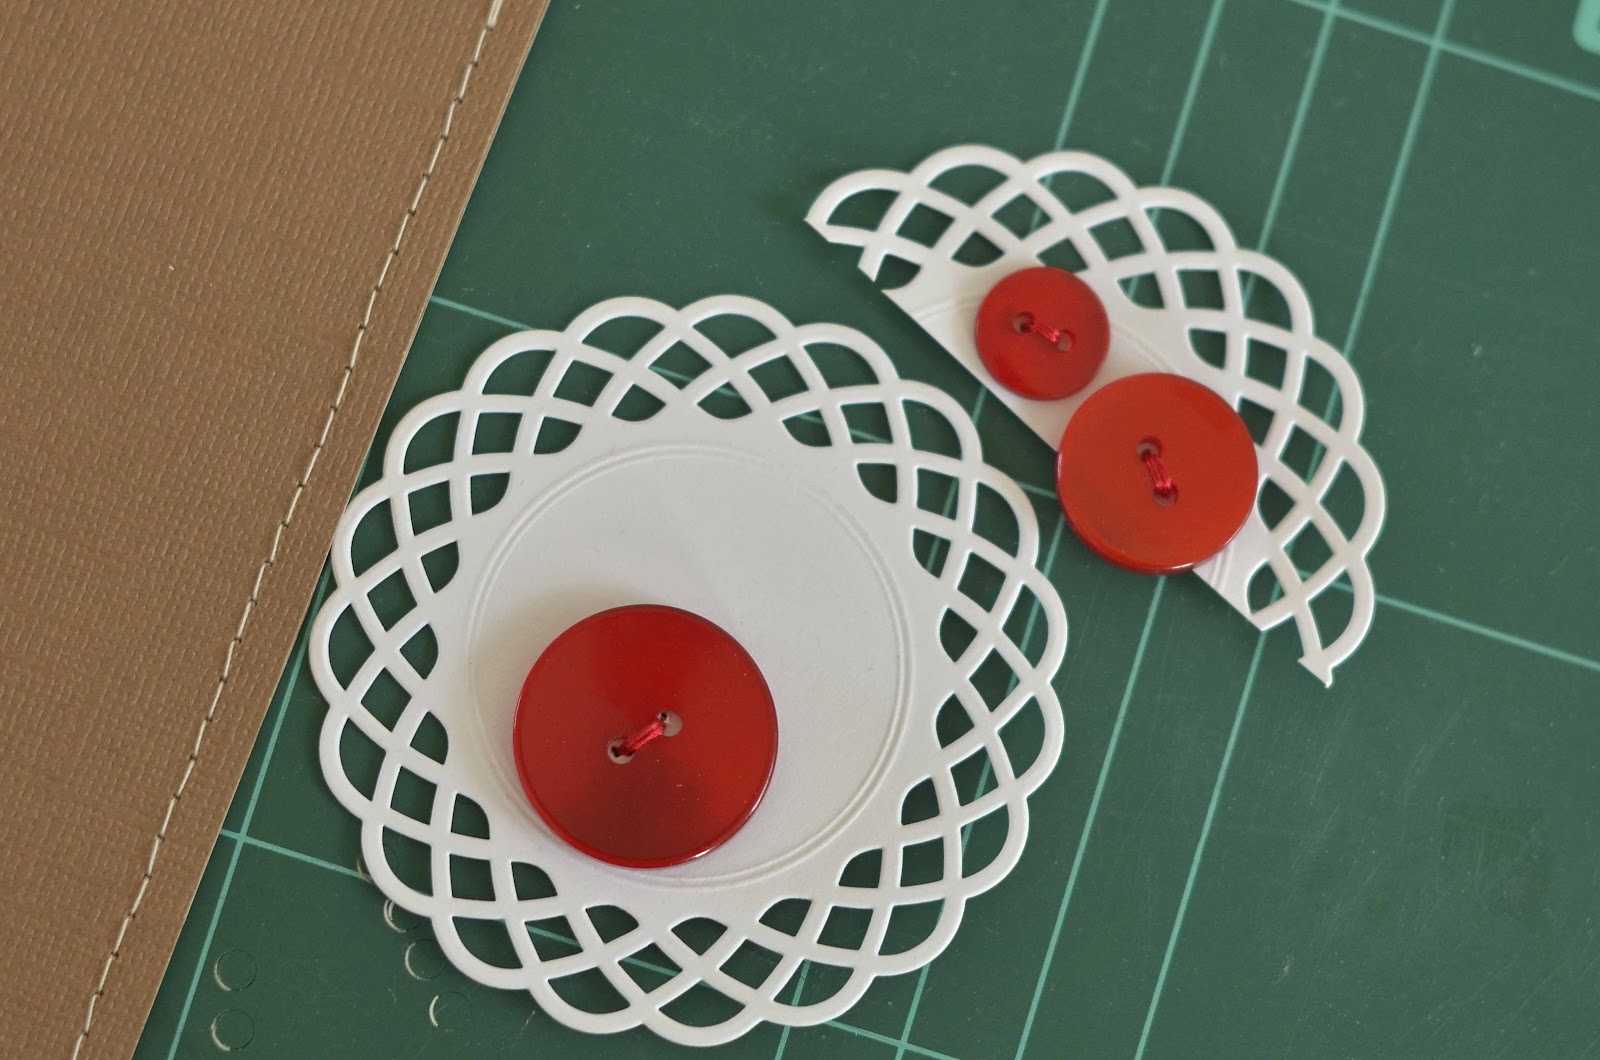
With my envelope ready to embellish I took two doilies. I cut a little piece of one of them to go on the envelope flap and sewed red buttons onto them. I glued them on the envelope so they would look as 'one-doily' when the flap was closed.
I took a piece of twine and swung it around the largest button to create a closing-mechanism. When you close the flap you take the twine around another button to close the envelope. I finished off with a diecut sticker.
And here is the envelope when it's open. You can add a card, a giftcard etc.
And my last project is a romantic card with lots of diecut flowers. I love how beautiful paper flowers get when you sand the edges of the Core cardstock. No need to buy pre-made flowers anýmore! I decided to go for a super soft look inspired by the roses in my garden, and having two boys and hardly ever using pastels on my projects I loved creating this girly look for a change. Couldn't help but add an orange flower at the end to spice up the pastels!
I started with cutting flowers in coordinating colors. Love how Core Essentials match so perfectly. And I handcut some leaves from an old vintage book in stead of using the traditional green.
As I started to sand the edges around the diecuts and give them dimension I laid them on the table to start creating my clusters.
Thank you for actually reaching the end of this loooong blogpost!